The rear main seal prevents oil from seeping out around the crankshaft where it protrudes out of the back of the engine. If you’ve ever owned a high mileage car you’ve probably had a leaky RMS. And if you’ve ever had one replaced you’ve probably come to learn how bloody expensive it is. In most cases you have to either remove the engine or remove the transmission. Neither is particularly fun or easy, which are generally the prerequisites for a cheap auto repair job. So when installing a new RMS its pretty important to get it right.
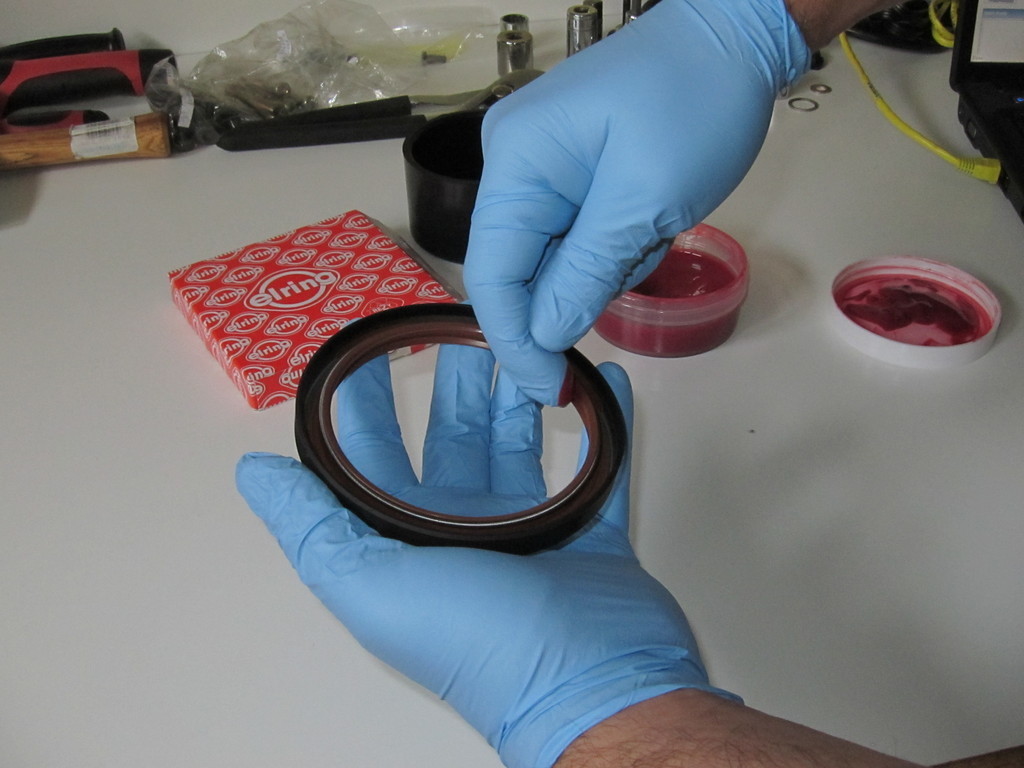
I start off by applying a layer of assembly lube to the inside lip of the RMS. This is what rides against the tail of the crank.
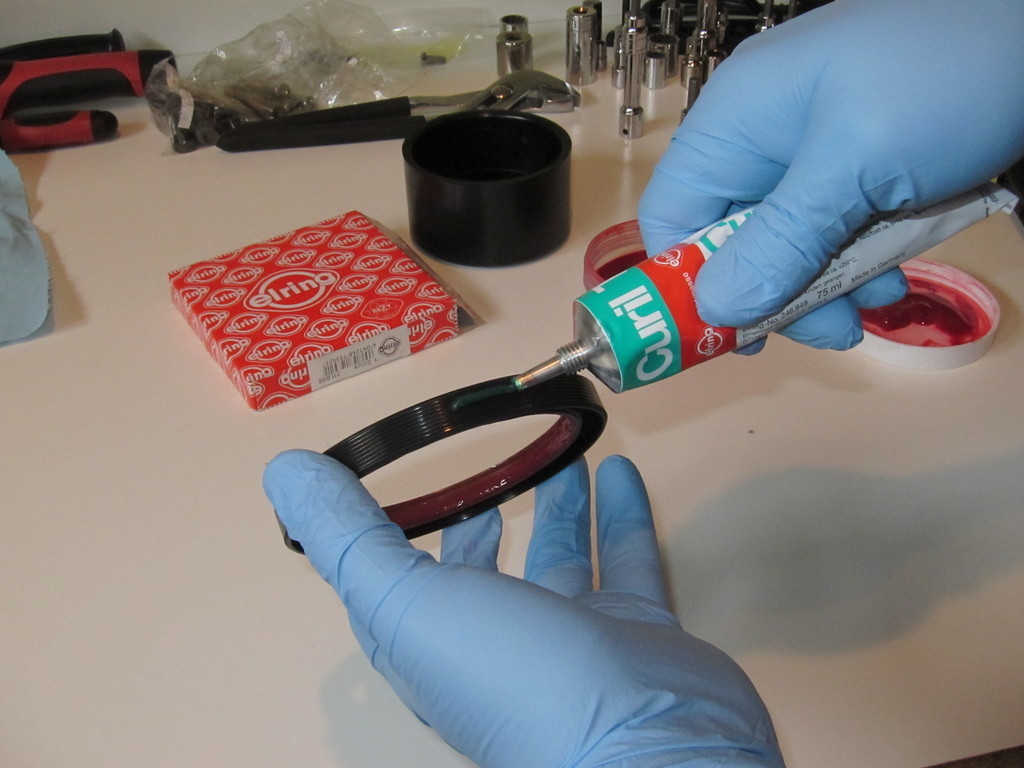
The outside lip gets a layer of sealant.
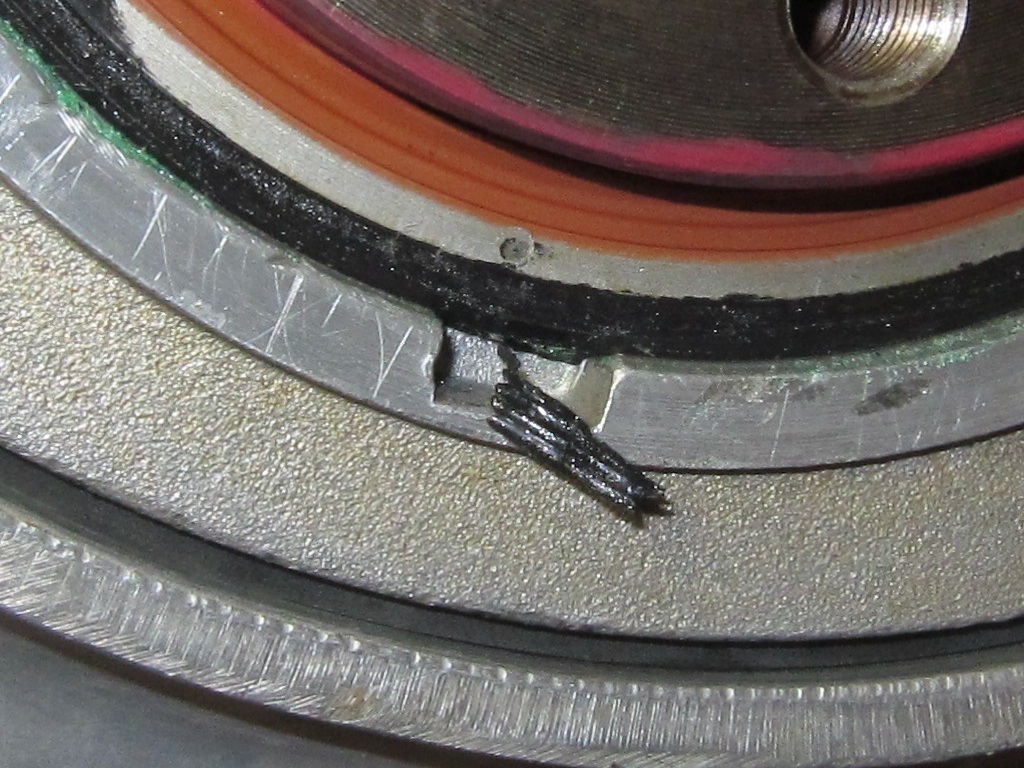
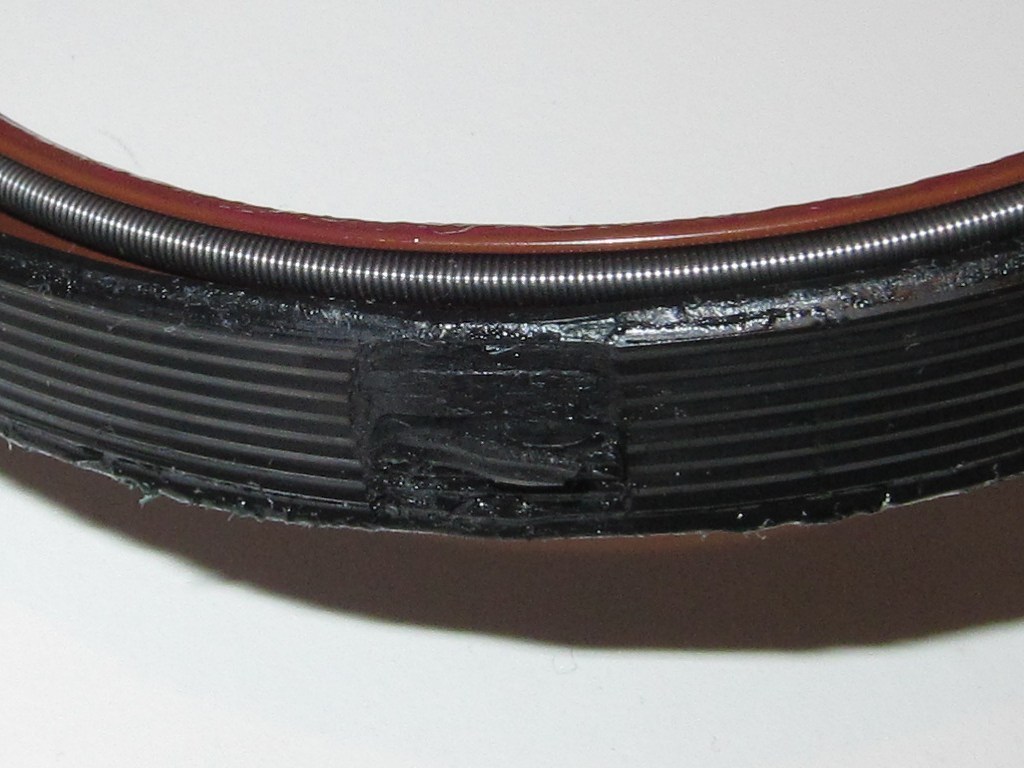
Many people suggest you can simply tap the RMS in with a mallot. And with the engine out of the car this process should be a breeze, right? Well, not so much in my case. For some reason, whenever I attempted to install the RMS, the edge of it would shear off on the lip of the pry slot, leaving a deep gouge in the plastic on the side of the seal. As one can see from the picture, the little piece of dangling plastic should really be on the inside doing battle against errant oil molecules.
Left this way my engine was certain to be pissing 40-weight whenever I started it up.
After a couple of failures (costing me a new RMS each time) I decided I needed to try a more civilized approach. Of course Porsche, being the epitome of civilized, has a special tool just for this job…for $150 a pop. The tool comes highly recommended from many (presumably wealthy) gear heads, but I figured there had to be a cheaper way.
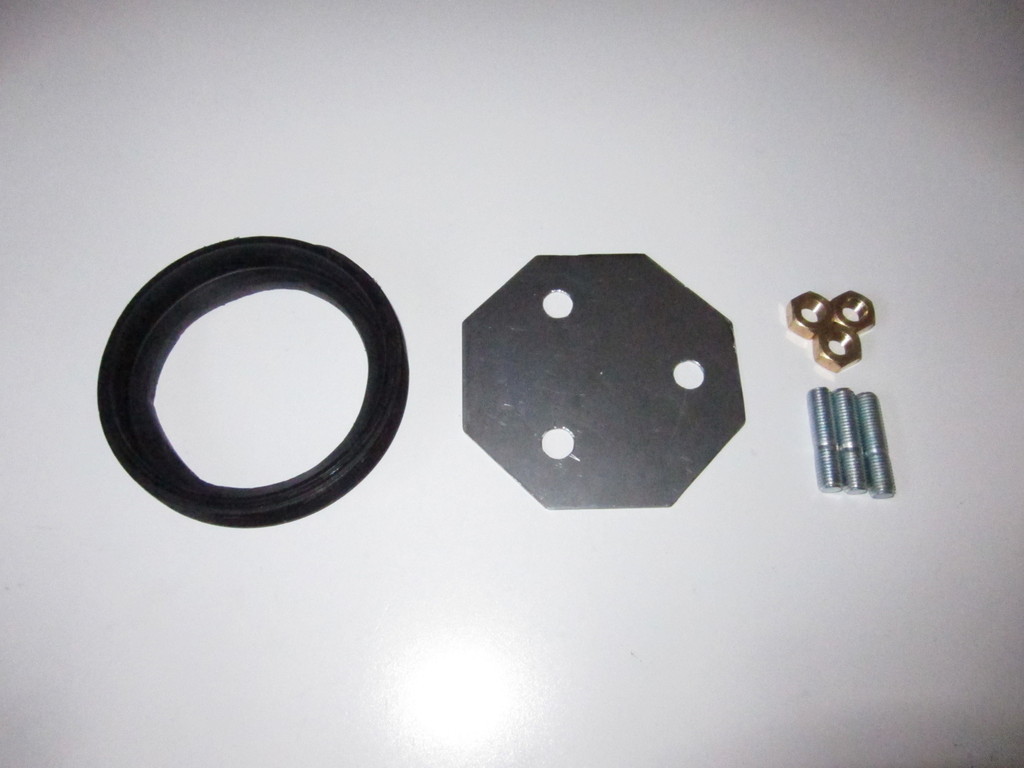
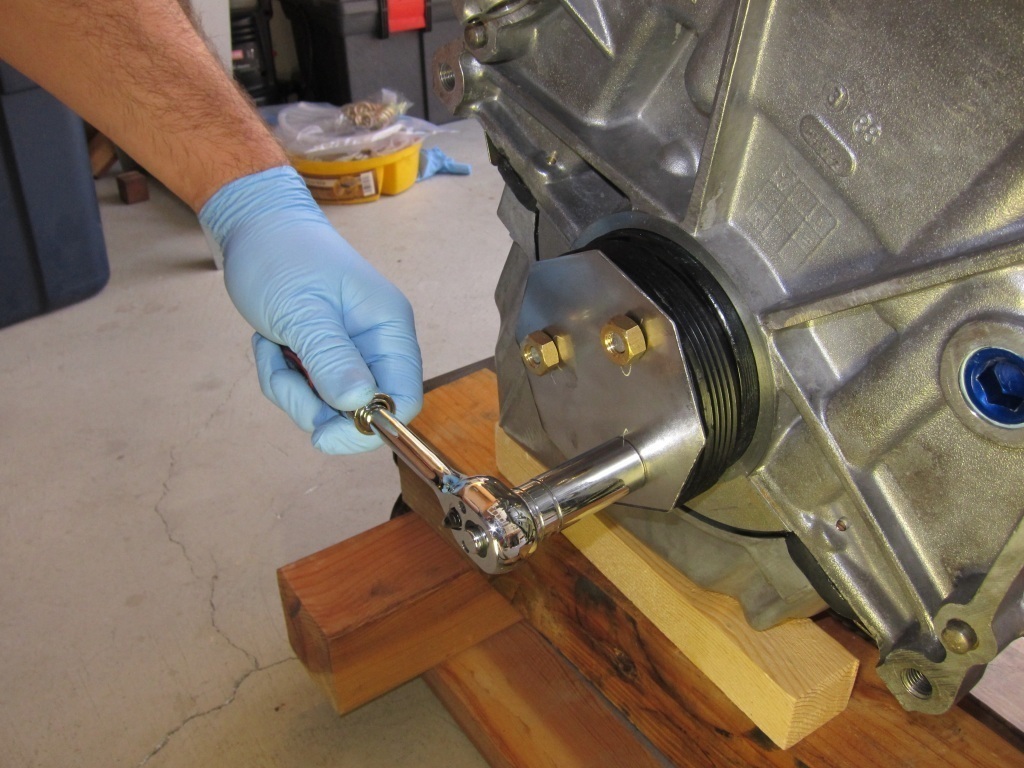
And of course there was. What you’re looking at in the picture is a $3 PVC drain cover with the center cut out, $5 worth of sheet metal and set of M12x1.25 studs and nuts that came to about $10. The lip of the drain cover is the perfect diameter for pressing the seal, and the studs and nuts allowed it to be gradually pressed in straight and true. I can’t take complete credit for the idea as I came across a picture on the internet of a similar looking contraption being used on a Ford.
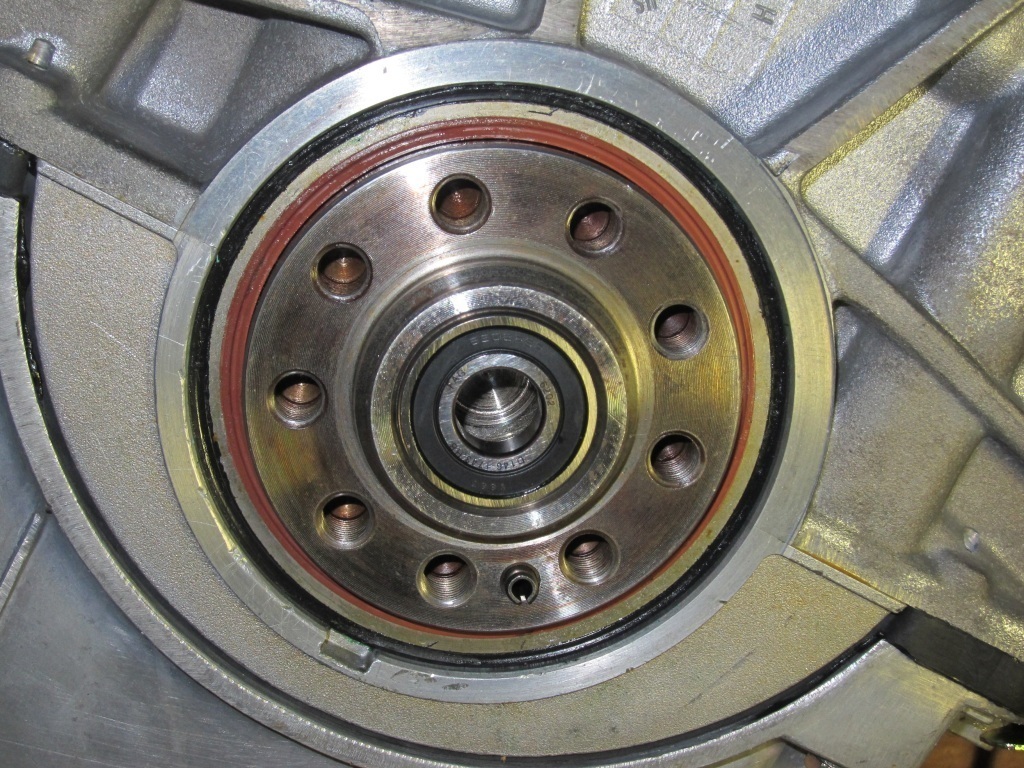
Unfortunately my homemade seal driver didn’t end up eliminating the tearing problem. I puzzled over this for quite awhile and eventually came to the conclusion that, although the pry slot didn’t feel particularly sharp, there must have been something about that edge that was ruining the seal. So I very carefully took a Dremel and rounded off the corners until they were nice and smooth. A little bit of oil on the edges and the new seal went in perfectly!
Of course I won’t really know if the seal is leak-free until I get the car back together and drive it for a while. But until then I live in hope.