When I bought the car I told myself I wasn't going to spend any time or money on aesthetics—its going to be track rat, so why should I care what it looks like? Well, after seeing all the pretty parts come back from the plater I couldn't resist giving them something to shine against. So I decided to paint the cam tower wrinkle black and polish up the PORSCHE lettering on the top. I figured it shouldn't take more than $30 and 5-6 hours of my time.

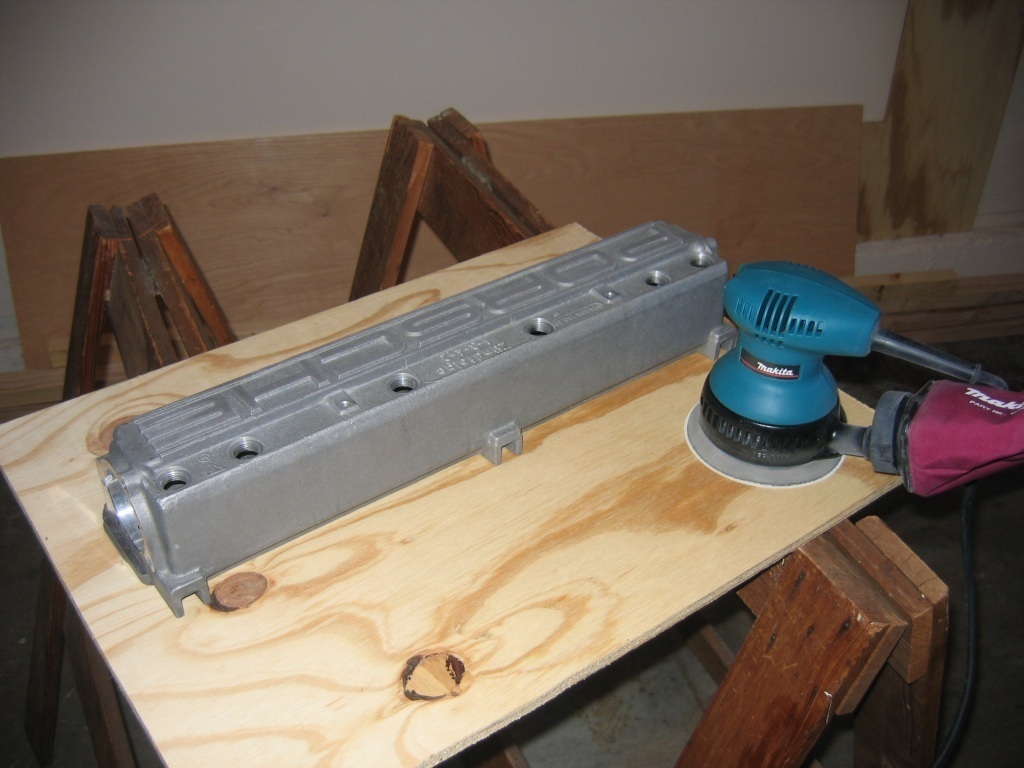
Cleaning the cam tower with a home brew soda blaster hooked up to my air compressor. It did a surprisingly good job.
Getting ready to sand the casting marks off the lettering.
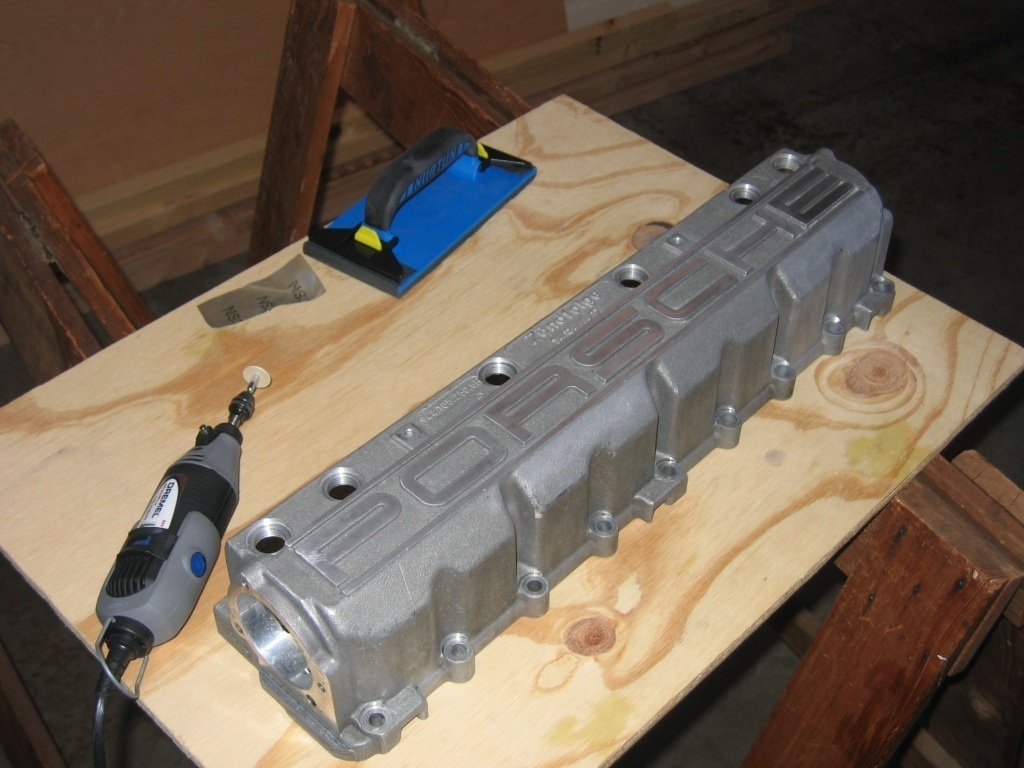
Using a dremel to sand out some of the remaining pits.
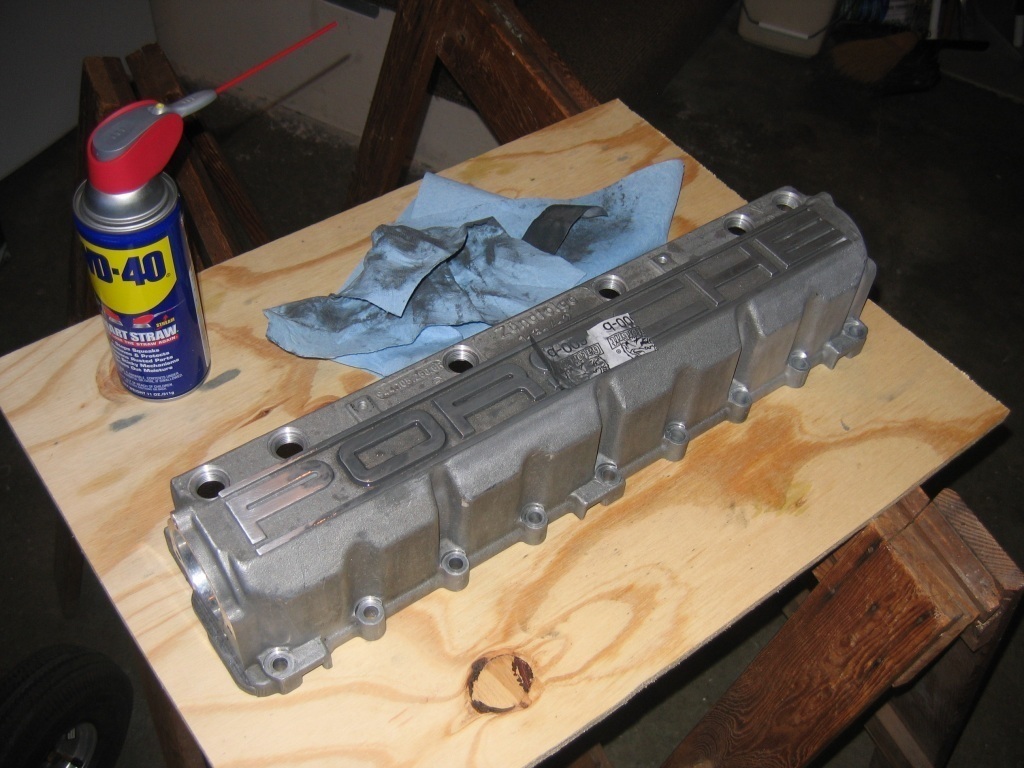
Wet sanding the letters with WD40 and 600 grit sand paper. Next up, 1000 grit followed by 1500 grit. Then after a thorough cleaning it will be ready for masking and painting.
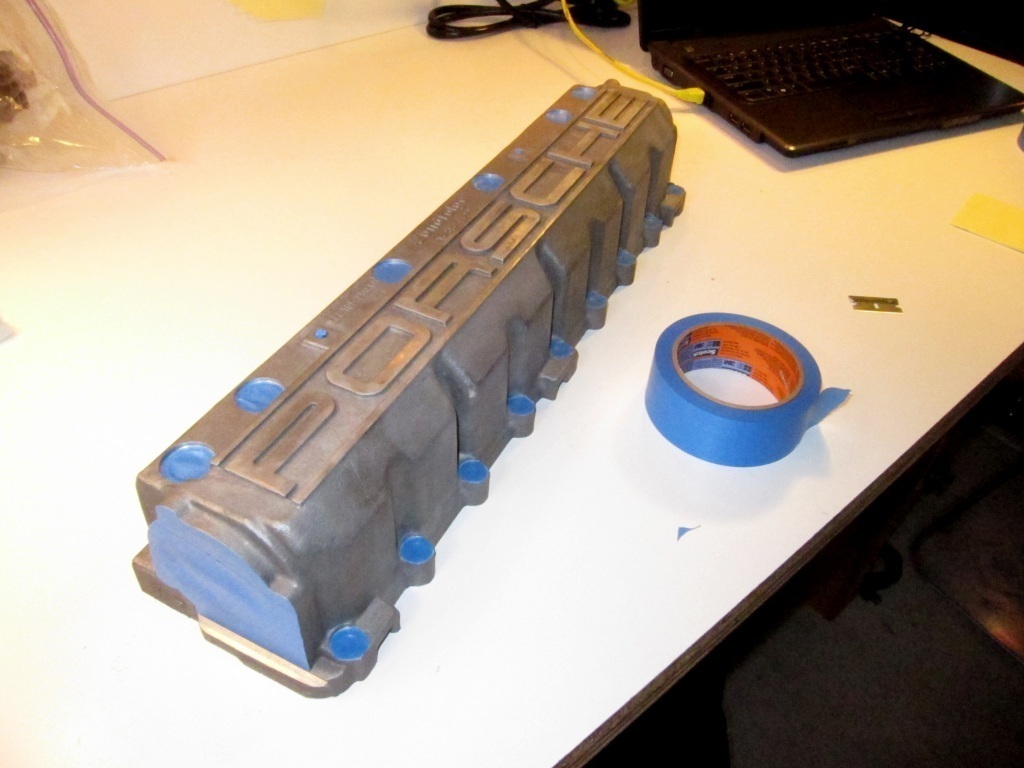
After a long delay I finally got back to finishing the cam tower. Next step was to tape up all the places I didn’t want painted.
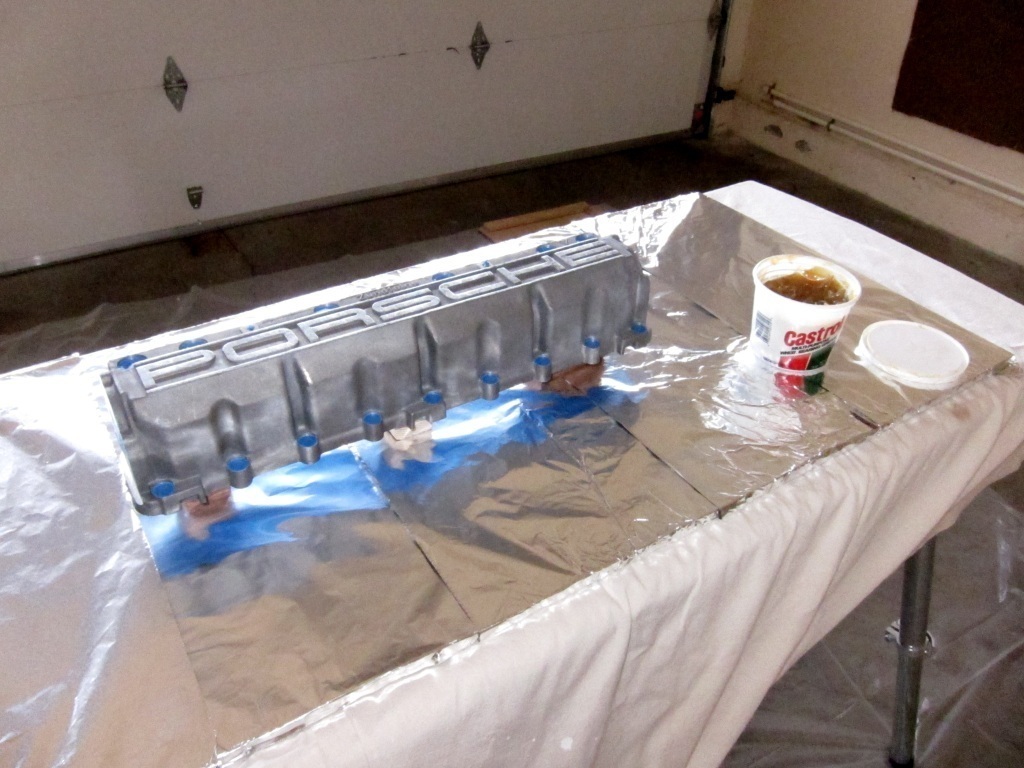
Taping the lettering is hard, because of all the tight corners and such. Another approach is to carefully apply grease to the surface of the letters to prevent the paint from sticking. Vaseline is a common choice. However I wanted something with better heat resistance (for reasons that the following pictures will make obvious). Bearing grease seemed like it would do the trick.
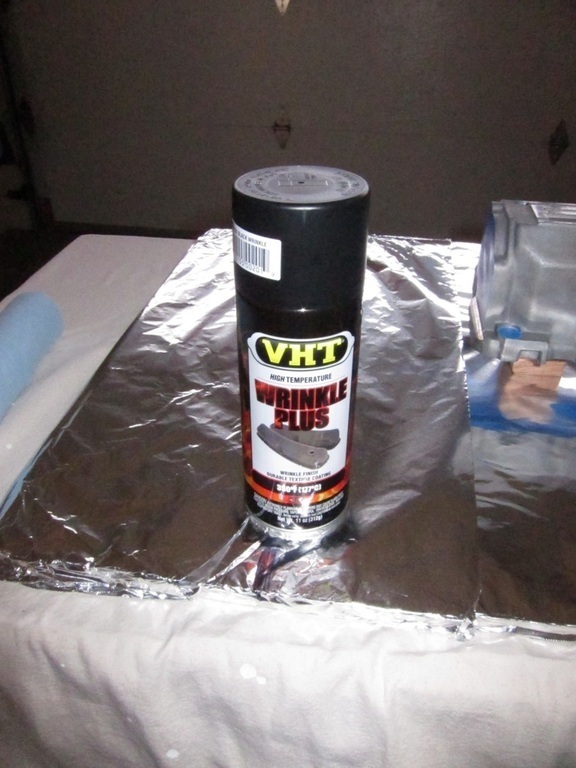
I decided I wanted a wrinkle finish so I picked up this can of high temp wrinkle paint at the local AutoZone. It’s amazing what you can get in a can these days.
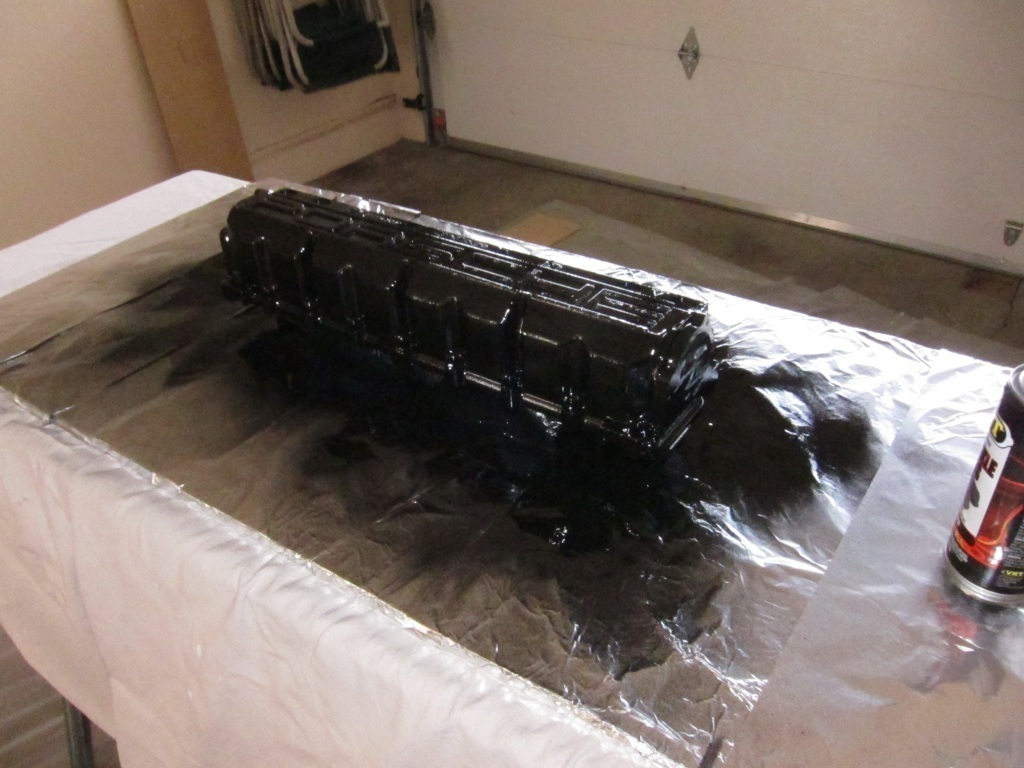
After all the taping and prep, applying the paint is the easy part.
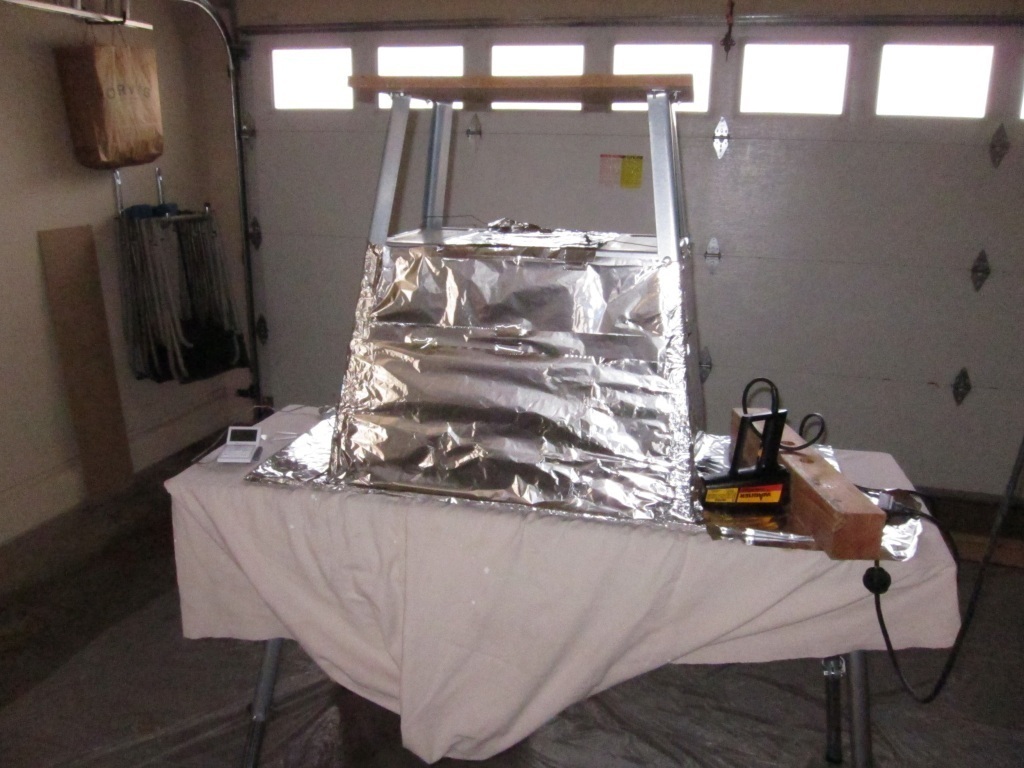
I’d heard that baking the freshly painted part in an oven produces the best finish. I also knew that the hubby would not be pleased if he caught me stinking up the kitchen with my car parts. So instead I MvGyvered a makeshift oven out of an old metal table, a hot air gun and some foil. Liberal amounts of metal duct tape kept the contraption together for the hour long baking process.
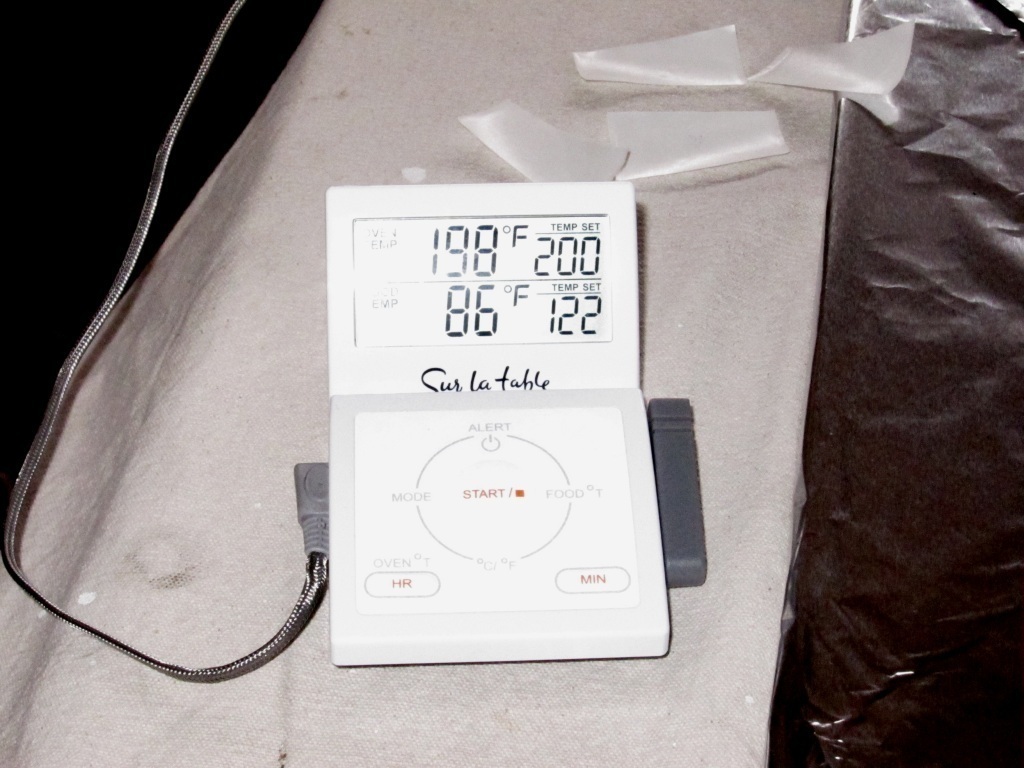
I monitored the internal temperature with an oven thermometer. Every 5 minutes or so I had to switch the hot air gun between high and low to keep the temperature around 200 degrees F. Now I know what a thermostat feels like.
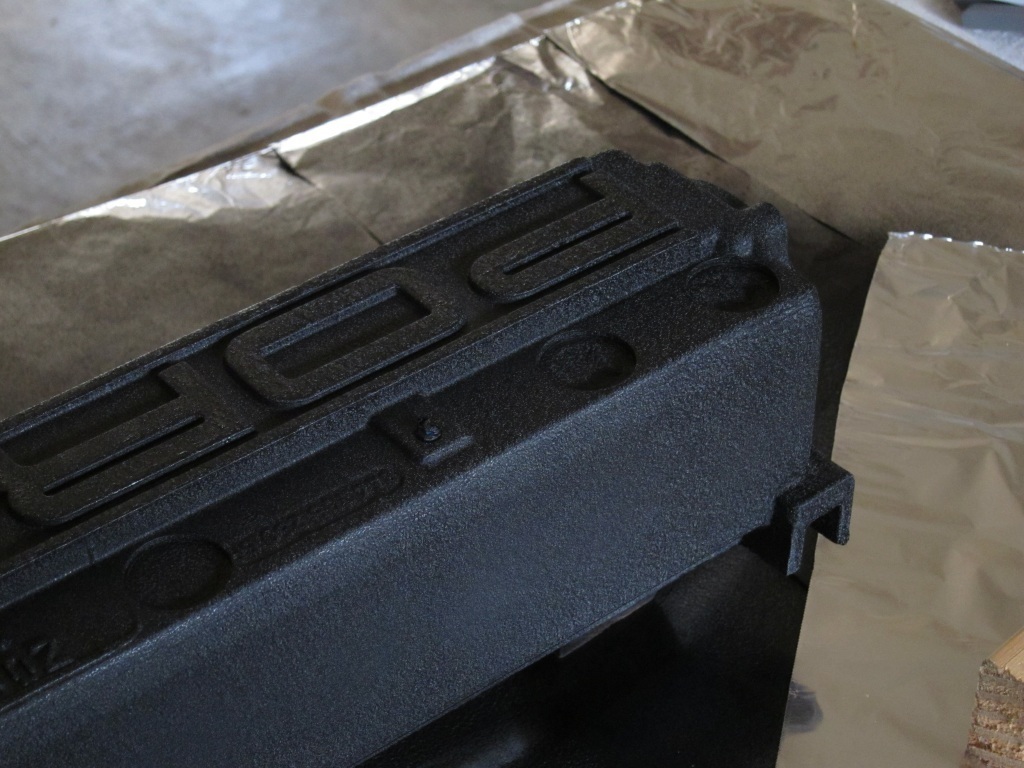
The baking seemed to work, as I ended up with a pretty good wrinkle finish.
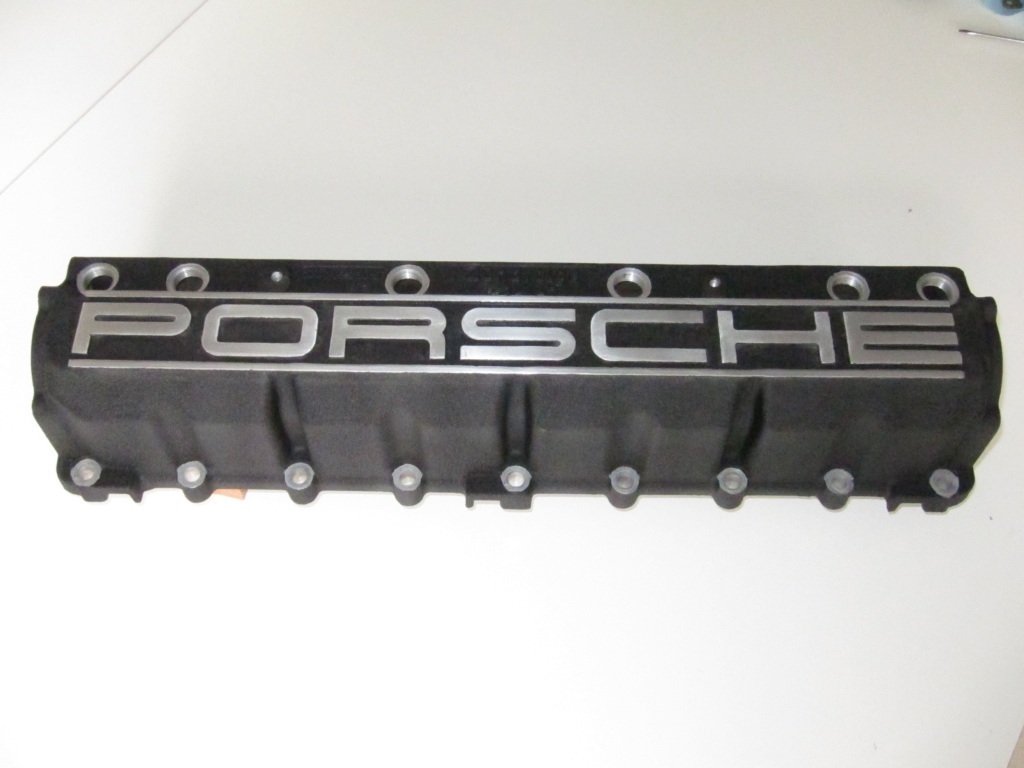
After letting the paint set up overnight, I used a plastic putty knife to scrape the paint off the surface of the letters. And with a little cleaning and sanding the letters were back to a nice brushed metal finish. The final step was to apply a layer of clear coat to the exposed metal to keep it from tarnishing.
A professional might scoff, but all in all, I think it turned out pretty nice!