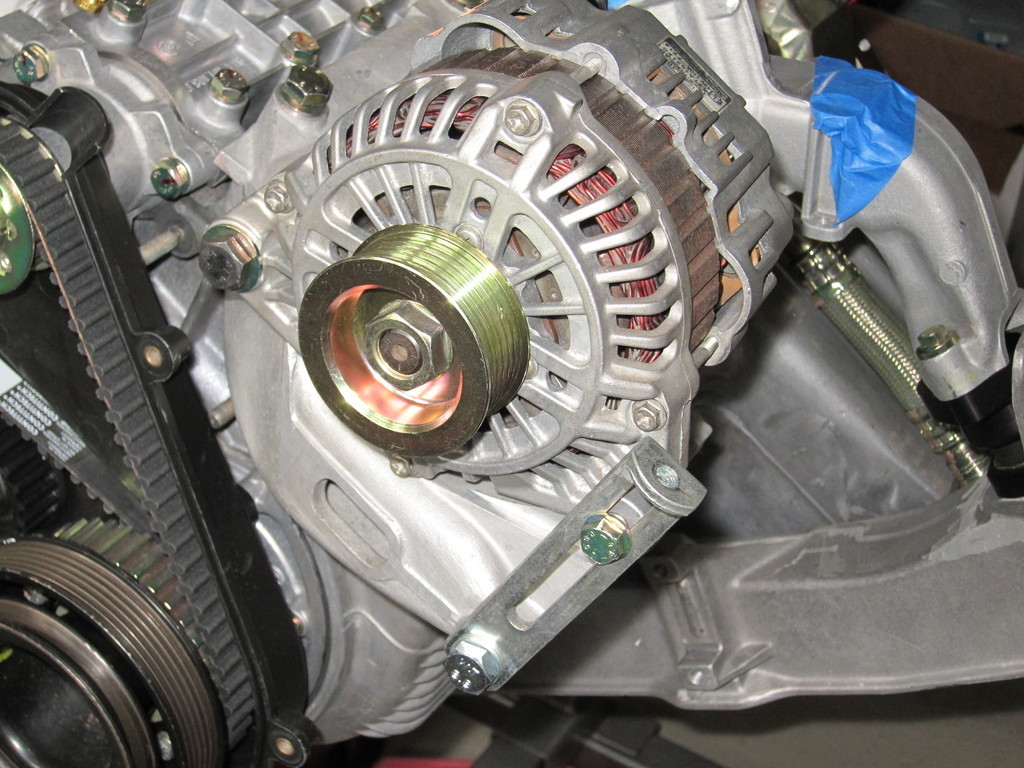
The factory alternator that comes with the Porsche 951 is bulky, ill-placed and generally unloved by most people. As it turns out, a replacement piece can be found in the most unlikely of places—a Nissan Quest minivan! In my case, the donor organ was extracted from a 1997 model parked in a local auto graveyard.
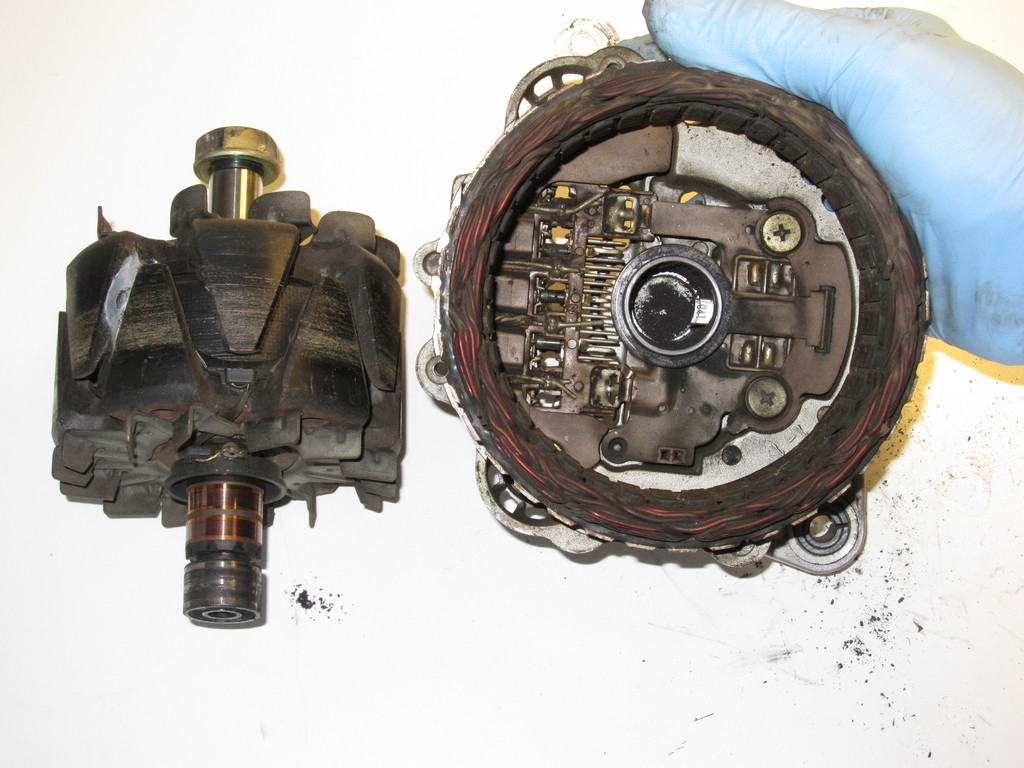
This first order of business was to disassemble and clean the alternator. Mine was pretty dirty, including years of road grim and an old spider's nest. But otherwise the piece was in reasonably good condition.
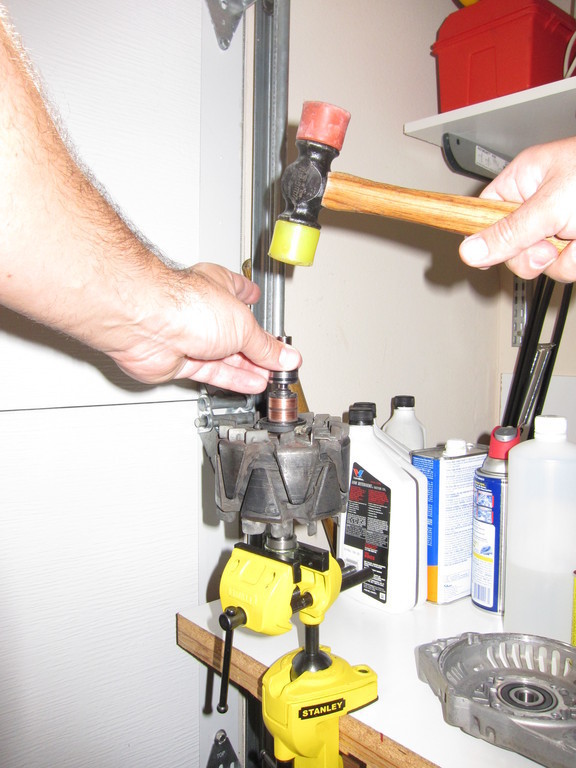
Rebuilding an alternator isn't that hard, and generally consists of replacing the bearings and possibly the regulator. The bearings can usually be pulled with simple tools.
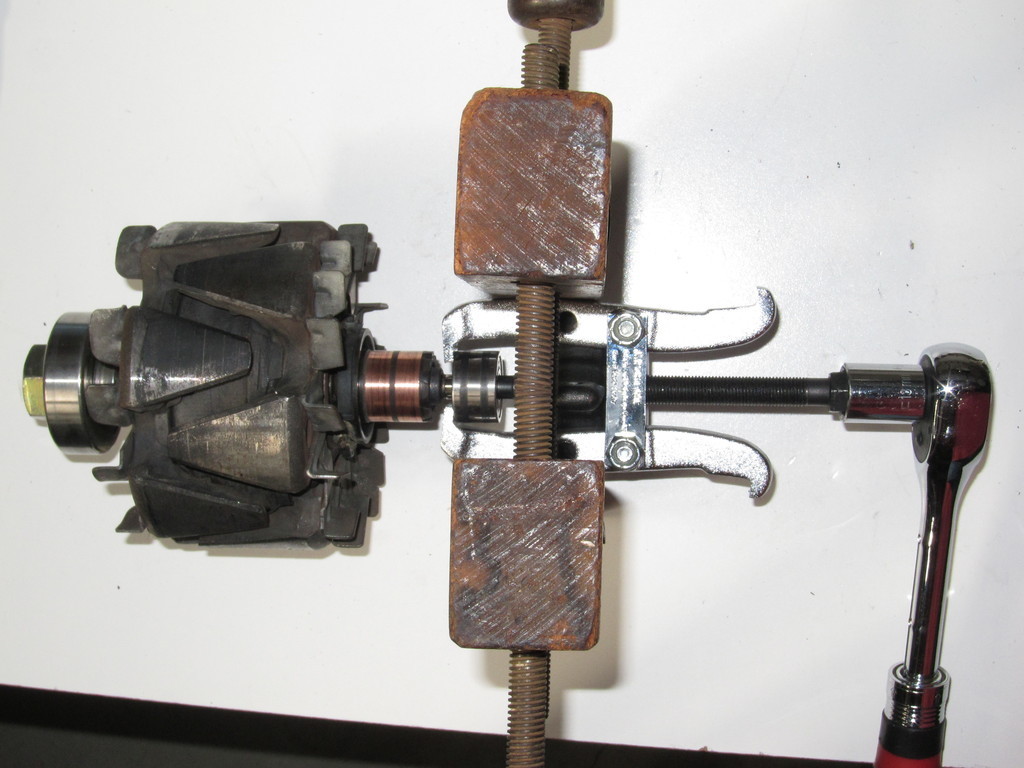
Pulling the rear bearing involved some creativity. I'm sure there's a better tool for this somewhere.
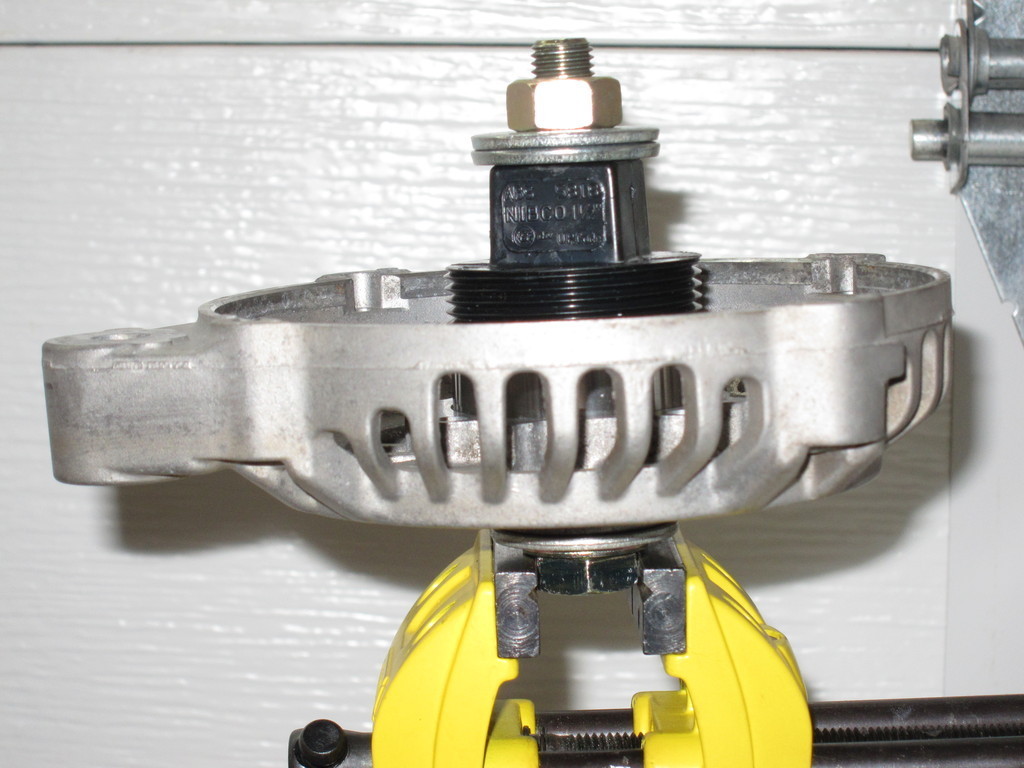
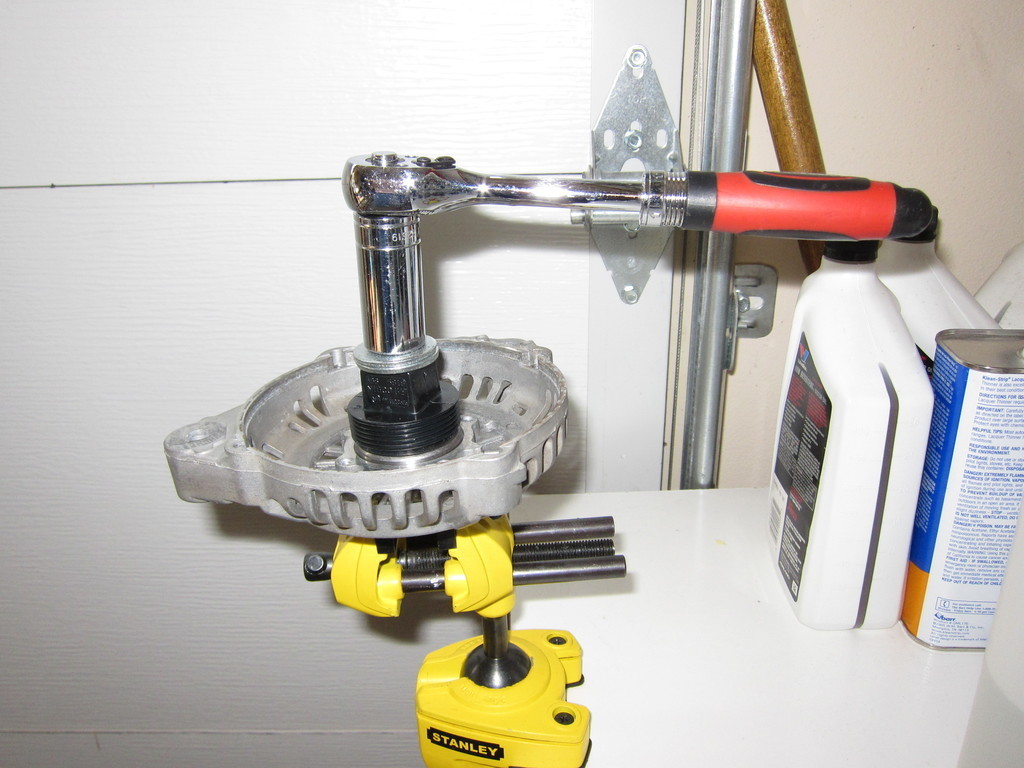
Once the old bearings had been removed and the remaining parts cleaned, new bearings were sourced via the internet and assembly began. Here I am driving the new front bearing using a contraption made from a PVC drain plug, a nut and bolt, and a few washers.
When driving the rear bearing onto the end of the rotor, I was careful to use a socket that was the same size as the inner race so that I wouldn't damage the bearing.
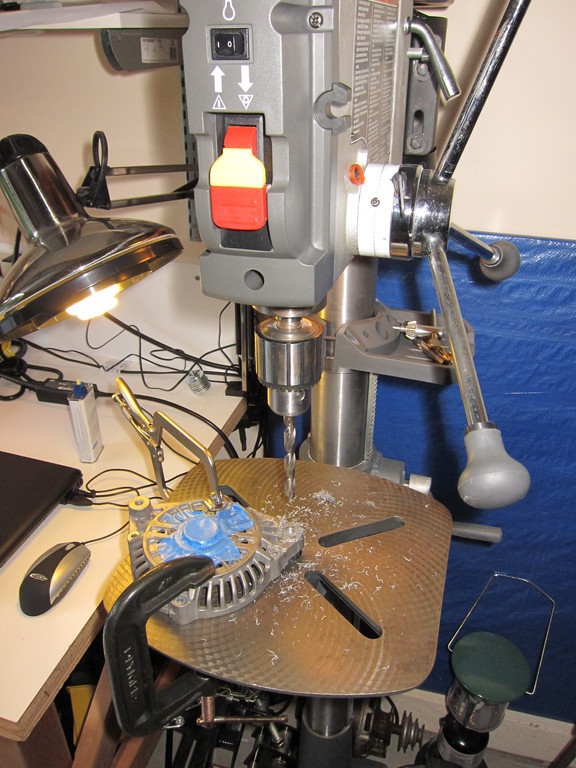
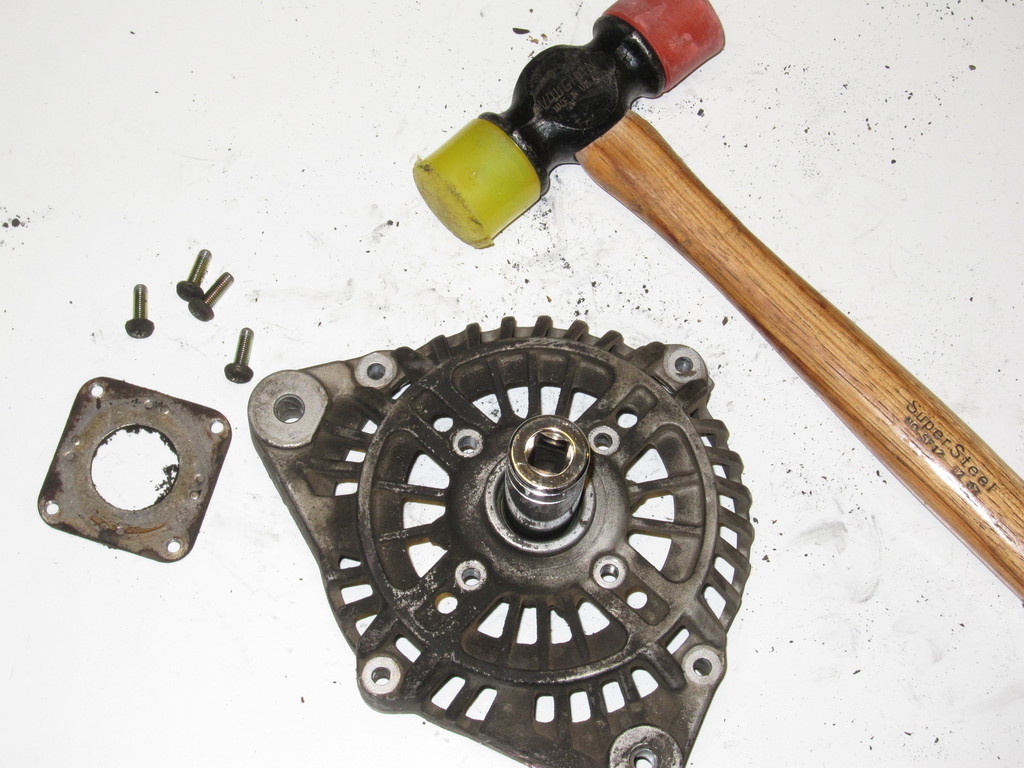
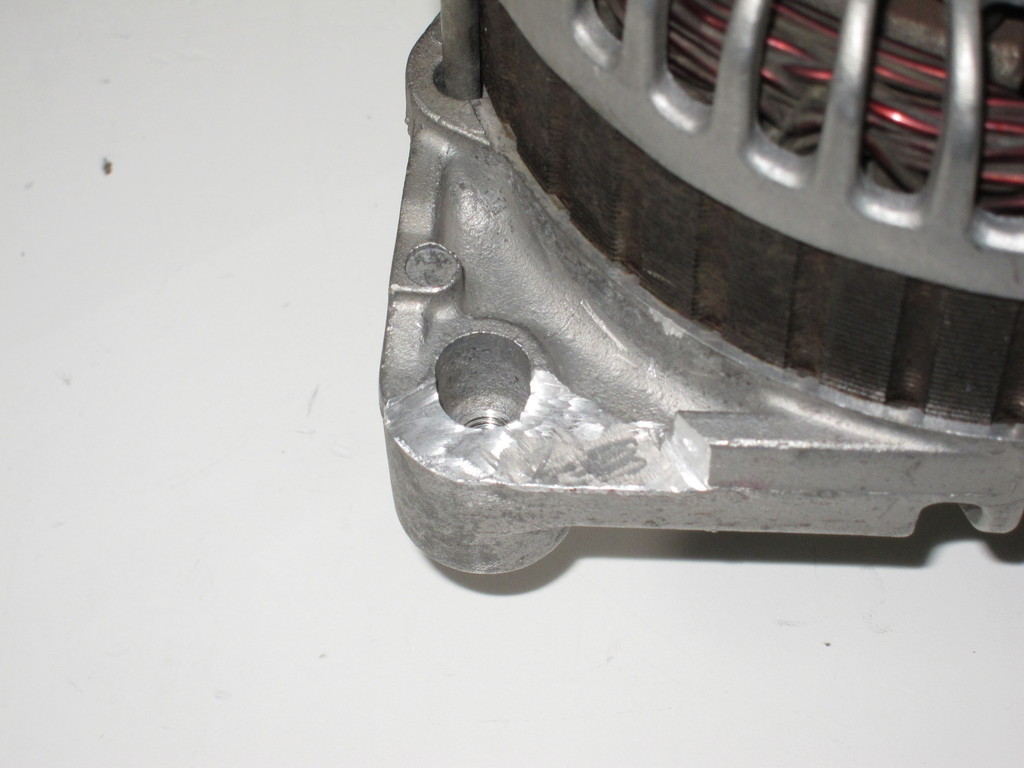
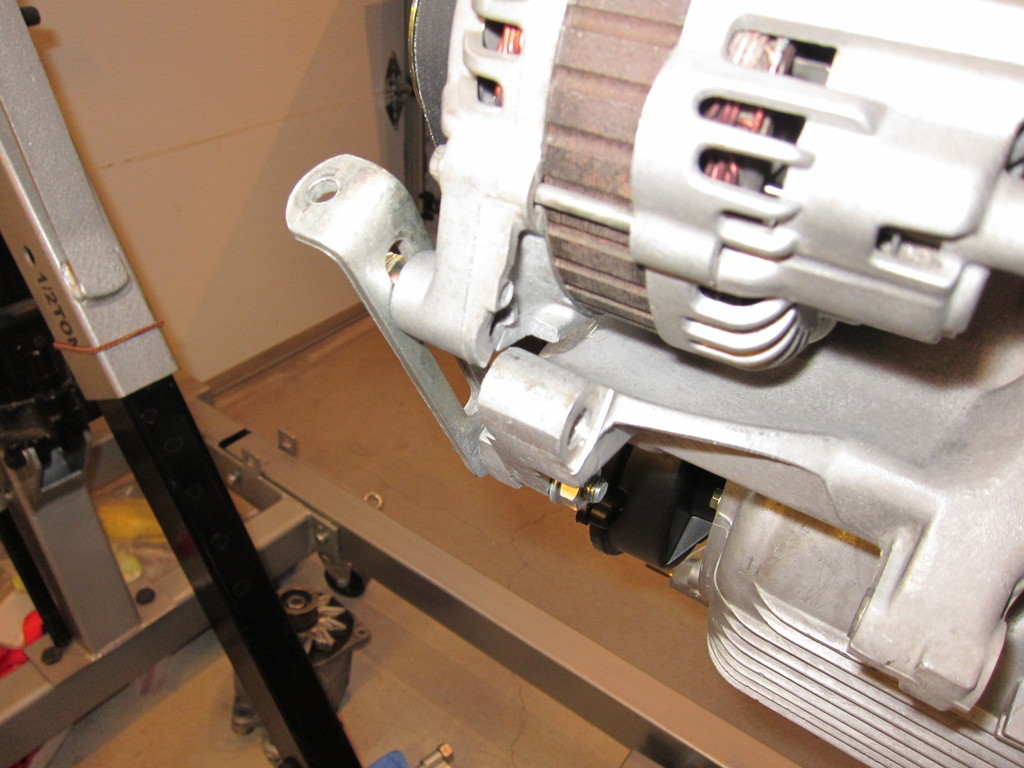
The Quest alternator requires a few modifications to mate with the Porsche mounting bracket. First it was necessary to enlarge one of the mounting holes.
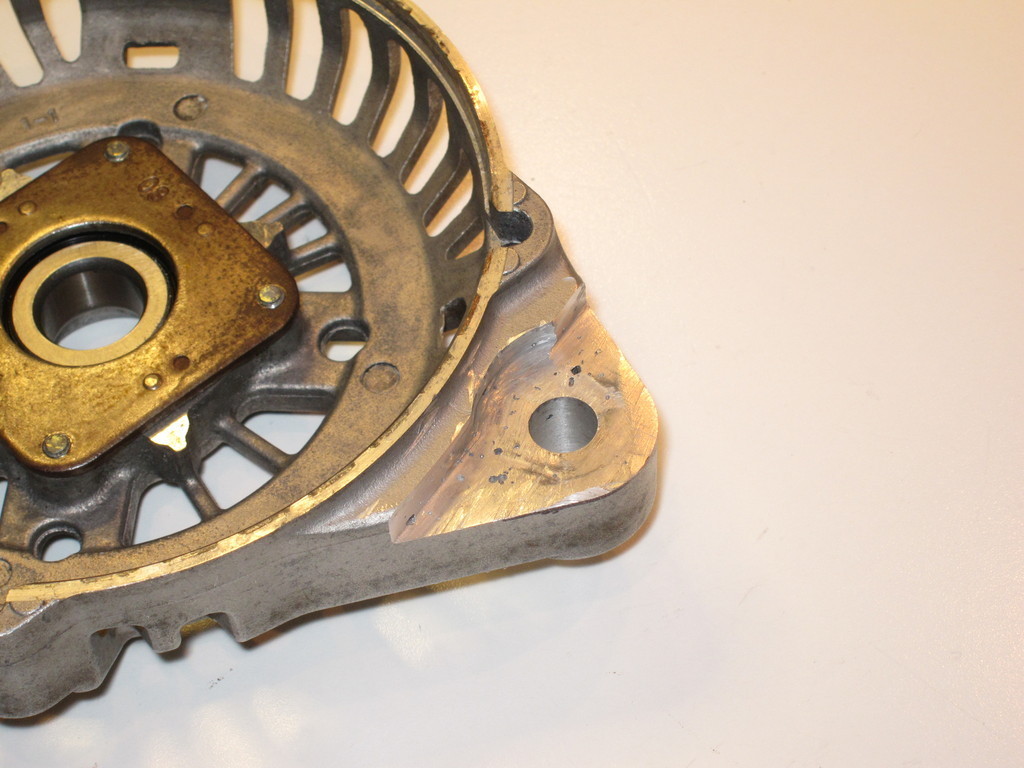
Additionally, the thickness of the forward mounting tab meant that the alternator pulley was misaligned slightly with the pulley on the crankshaft. This was fixed by removing approximately 7mm from the inside of the tab using a hacksaw and a dremel.
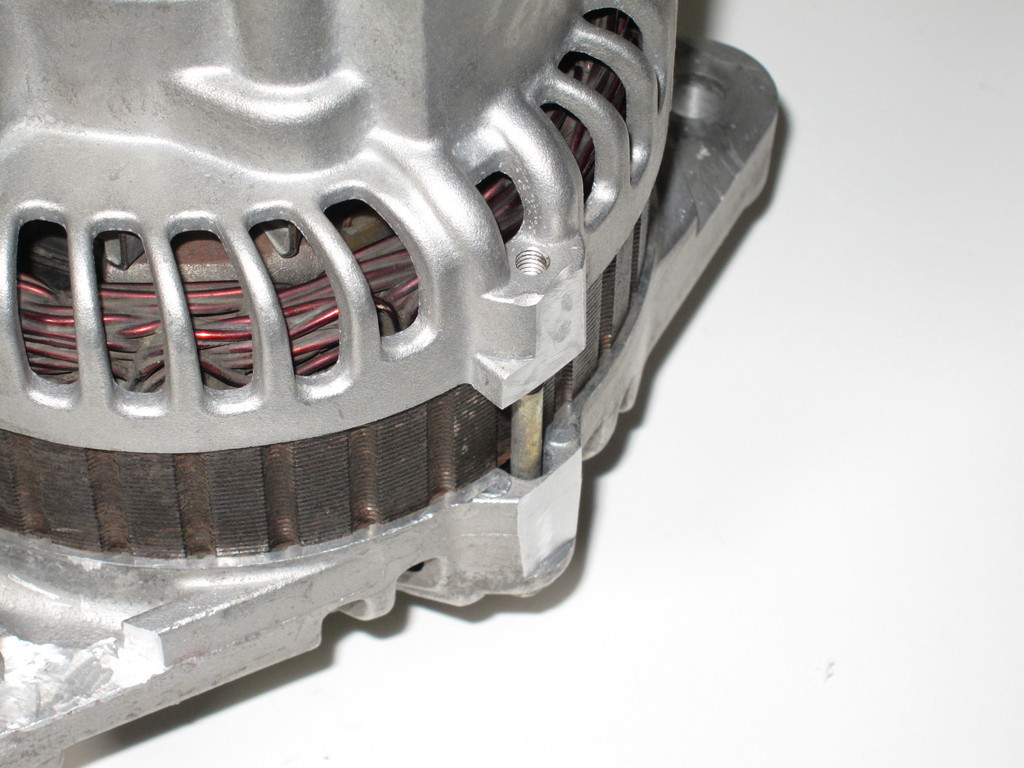
A few other minor tweaks were made to allow the alternator to swing enough to get the drive belt on and off. While it is possible to modify the Porsche alternator bracket to make clearance (as others have done) my goal was to fit the new alternator without any permanent changes to the factory equipment.
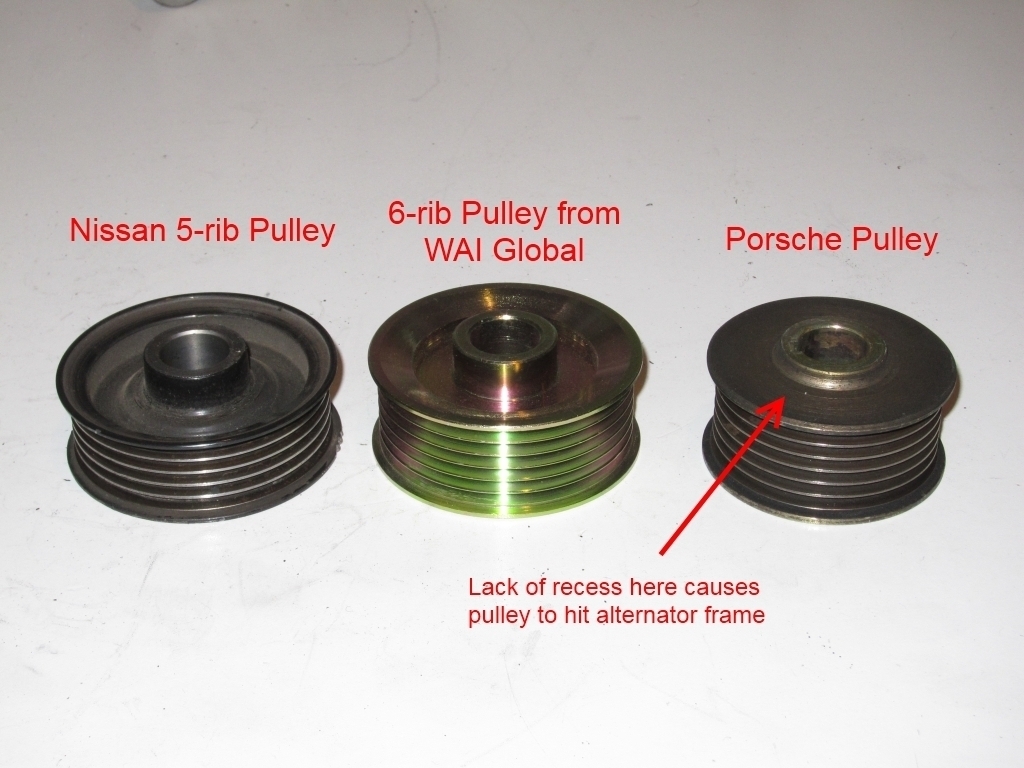
The Quest alternator uses a 5 rib pulley, whereas the Porsche part is 6 rib. Due to the profile of the Porsche pulley it was not possible to use it on the Quest alternator. So a new compatible pulley was purchased for $10.
The final touch was a new tension bracket swiped off a mid-90s Volvo. The bracket originally came with a built-in tension adjuster. However there was no way to make it work in this application so I removed it. I also had to drill out the hole at the end to accept an M10 bolt.
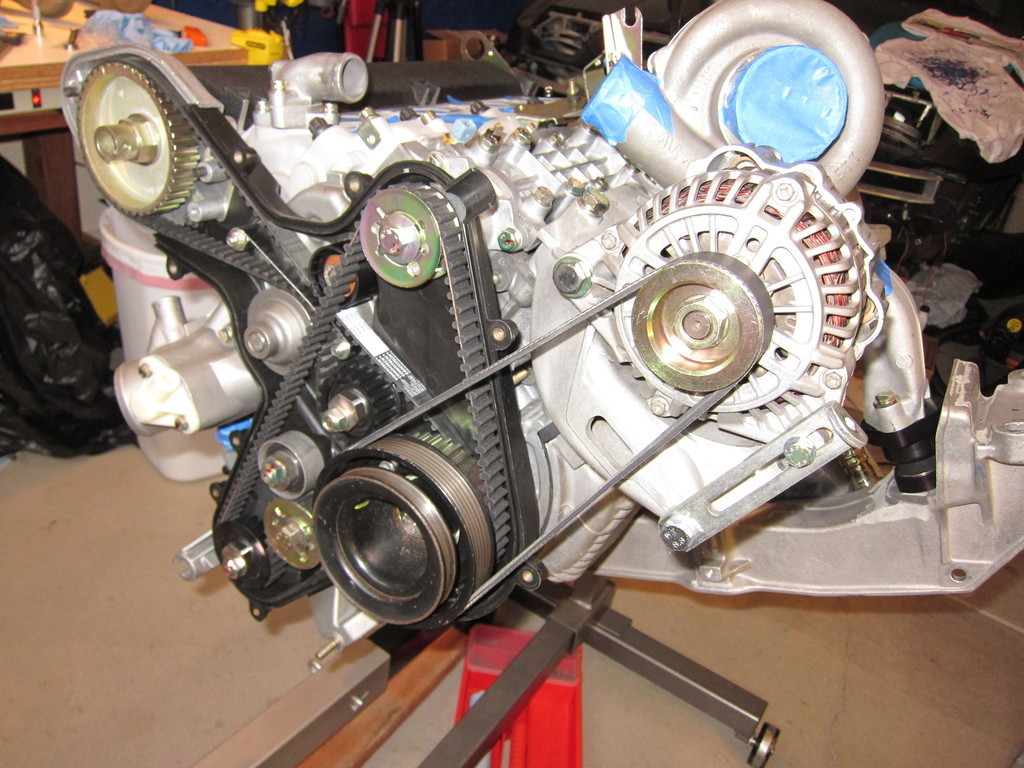
In the end the new alternator cost me less than $100 (including the can of brakeclean needed to clean it) and it was a fun project to put together.